Showing posts with label Craft Corner. Show all posts

Wednesday, July 18, 2012

Make my own font. Check

Today I accomplished something on my Life List!
I made my handwriting into a font!
I love Pinterest! Love it!
Thank you Pinterest. Thank you MyScriptFont.com
Thank you!!

All you do, go to MyScriptFont.com,

Download the template.
Fill it out using a medium thick pen.


Scan and upload the finished document.
Name it, Submit it and TA-DA!!!

Follow the directions to save it and your handwriting is a FONT!


Friday, May 11, 2012

Instant wrapping paper

Have your little one draw on long pieces of plotter paper.

Roll em up, keep it for future use
When you need to wrap a gift, use your little one's art work and voila!

Always a hit with friends and grandparents.


Thursday, March 22, 2012

Easter mantle

Grabbed some of Drewbie's artwork, made them into a cross, taped them to the wall, set up an angel and there we go!!


The angel is a new piece I inherited from my MIL.


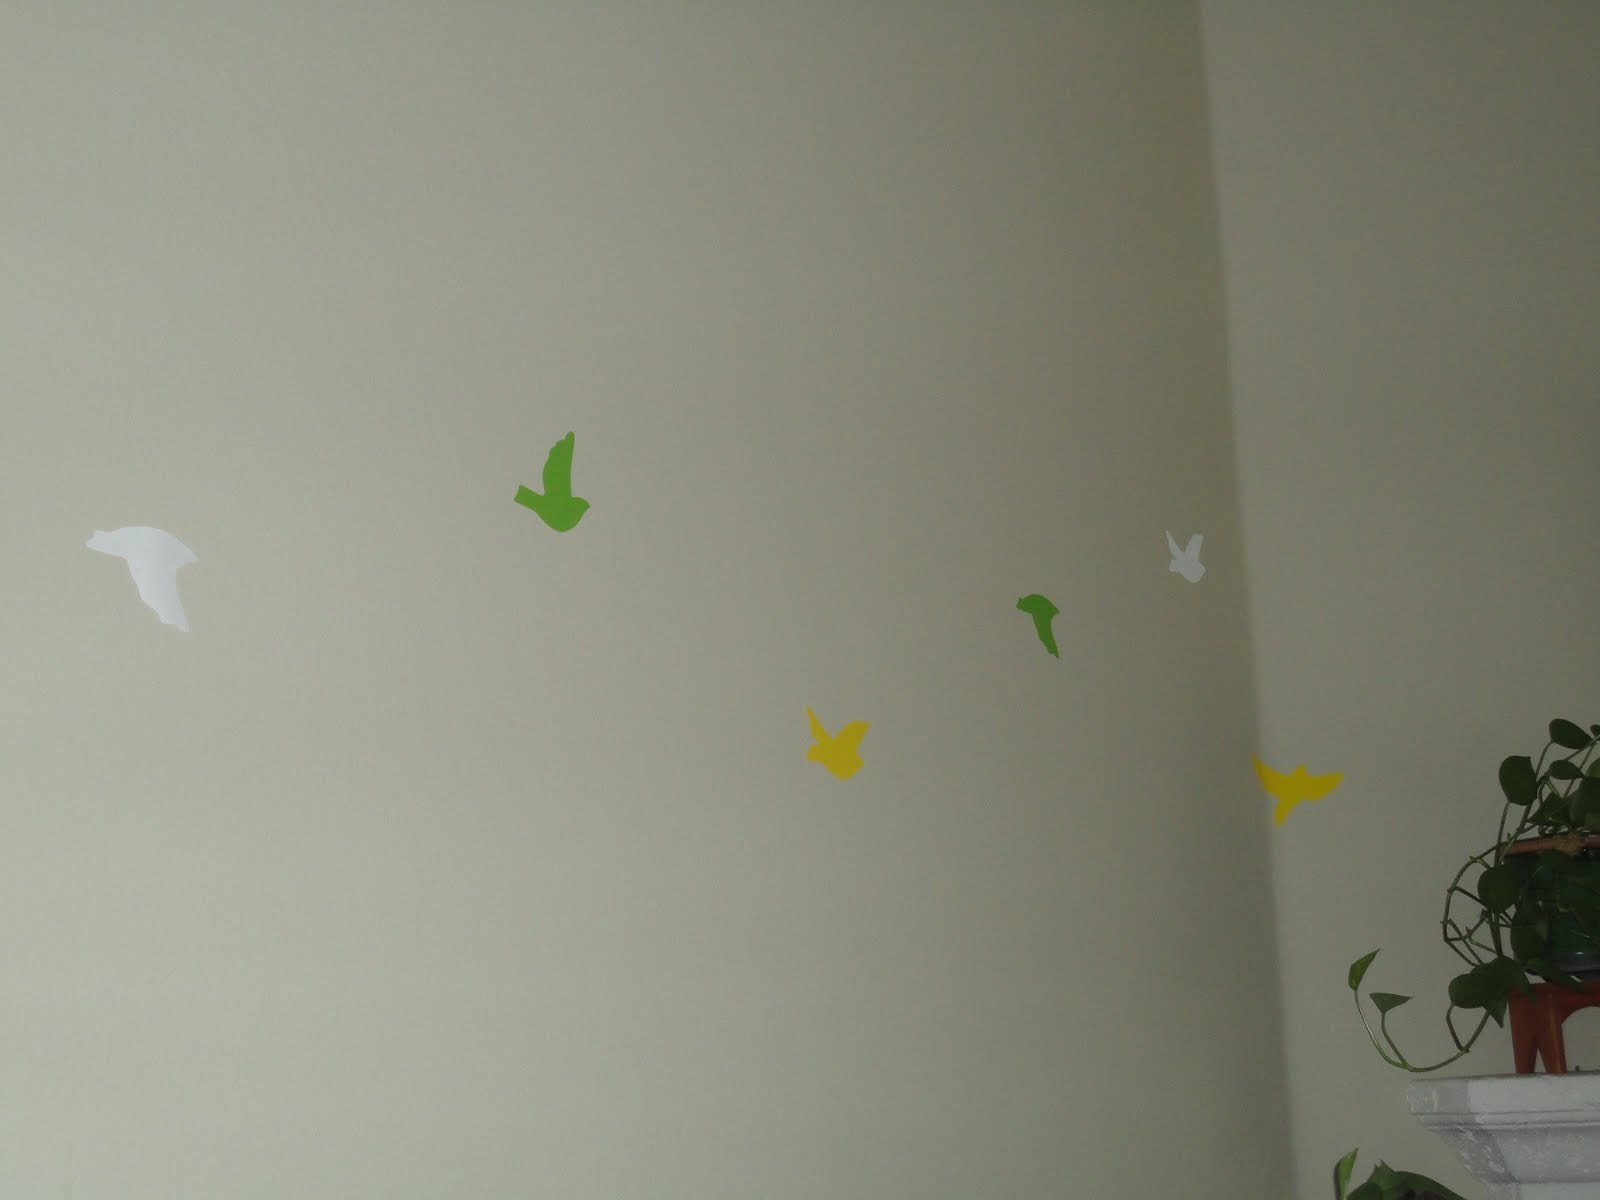
The white bird I did a long time ago. Printed a couple silhouttes of birds, enlarged them on the printer, cut them out and traced them on some wall stickers. Cut them out, stick em on.

Easy peesy.

Thursday, September 8, 2011

Window Decor.. with WRAPPING PAPER

I didn't take a picture of the door before.. but it's a door with a glass inset.
I took my favorite wrapping paper:

cut it out to the size of the window and taped it on.


LOVE IT.


I am thinking I can change it up every season. I just need to keep an eye out for really awesome wrapping paper.. clearance sales: here I come!!

Thursday, September 1, 2011

Meal Planning in One Page

Take this meal planner:


Laminate it.

Use a fine tip dry erase pen to fill in your meals, prayers, notes and you're all set.
Or you could frame it like this and use the glass to write everything on..


You can customize this document by using this template


Thursday, August 18, 2011

My old patio table - A modge podge makeover.

Thank for you this inspiration Karen!

I dare not gross you out by showing you what this patio table looked like before.
Just know... it was ICKY!

This project took longer than I anticipated.
I originally had only the top of the table done and just spray painted the legs.
That didn't look good. Seve-O suggested I just do the legs and everything. Interesting.


It was HARD to do the legs.I finally figured out to just take whole pages, and wrap it all around. Use small pieces to cover up the exposed areas.


It's amazing what a little modge podge and an old dictionary will do. I feel kinda bad for the dictionary. That I'm treating it as a relic, an antique in this google age. This dictionary has a couple really cool things in it though. It has illustrations, pictures and even talks about each letter and shows you what it looks like in other languages.  I may have start reading the dictionary soon.

Idea that sprouted from this project: I think I want to find another old table and modge podge it in NY TIMES crosswords, finish it with a clear coat that you can write on and do the crosswords with grease pencil. Wouldn't that be awesome?

Or I could find all those old tickets that I keep and modge podge them a frame or board or something.


Thursday, August 11, 2011

Bleach Pen T-Shirts

I was so inspired by this post from Homespun with Love.

I usually make customized onesies using iron on transfers. I design them, flip them, print them on iron on transfer paper, iron them on the onesies and the new mom always gushes over them. But alas.. I haven't bough ink for my printer in... months.

So when I saw this, I had to try it.

I couldn't trust my own free hand drawing so I used masking tape to stencil out a tie design. Someone should have told me that you don't need to use gobs and gobs of bleach from the bleach pen.


Ohmygosh, I had this huge puddle of bleach in the middle of the shirt. Good thing I had cardboard in between the front and back of the onesie. Ok... onto the next shirt.
I had some stencils that I brilliantly placed on the shirt with masking tape and tried to lightly trace it..
Not a perfect specimen but I'm pleased with the results.


Kinda excited at my new skill... now.. what else could I make?? I'll keep an eye out for shirts that fit my Drewbie. I could make a BIG 2 on his shirt for his birthday in Feb. Cute little hearts all around... AND I could make matching shirts for EVERYONE... party favors!!! Awesome.
Oh... and this girl freehand "doodled" this... WOW.

Thursday, August 4, 2011

Decorate your Trash Can!!!

Thank you Beth for this inspiration!!

So my garbage cans tend to get caught up in the wind and disappear in a neighbor's yard.. about 4 houses away!! Sometimes the lid is missing for a week and it magically turns up on my lawn.

I happened to find Beth's post one day and was inspired to paint the trash can. How cute is this!!!

I decided to make sure if they ever get lost again, the neighbors would know which house it belongs to.

I had acrylic paint on hand that I had bought at a garage sale a long time ago. She was a former teacher and she had gobs and gobs of great artsy stuff!!

I decided to go with white like Beth did.

I made my own stencils of my house numbers and the birds. Just printed it HUGE on 8X11 paper (one stencil for each). Cut them out.

Then I used masking tape to place the "stencils" and LIGHTLY dabbed the paint using a paper towel. LIGHTLY.

Let dry and VOILA!


Each trash day I'm delighted when I come to see my empty trash bins waiting to be carted back in the garage...

Thursday, July 28, 2011

Jewelry - Where it all ends up...

 
So this is a cute little jewelry organizer I got from a dear friend that hangs in my closet:


But.. this is not enough for all my necklaces... so I got these cool push pins with hooks and hung them up in the closet:

A couple pictures hang up from my favorite style bloggers for quick inspiration when I can't figure out what to wear...

So I get my outfits together and then come home, but... all my jewelry ends up on the vanity counter..


Yep.. that would be a canister set that USUALLY goes in the kitchen.. however, it provided more use in my bathroom for all my ... stuff: eyeshadows, liners, brushes, etc..
I got those cool hands from a jewelry store. I asked if they could order some of the display hands for me and they did! The only charged me what they paid (wholesale) for them.. LOVE THEM!!!
 
More pictures of where my jewelry ends up:
I've learned to just accept my laziness and see it as a gift of ... art...

Where do you keep your jewelry??


Thursday, July 21, 2011

Who needs albums?

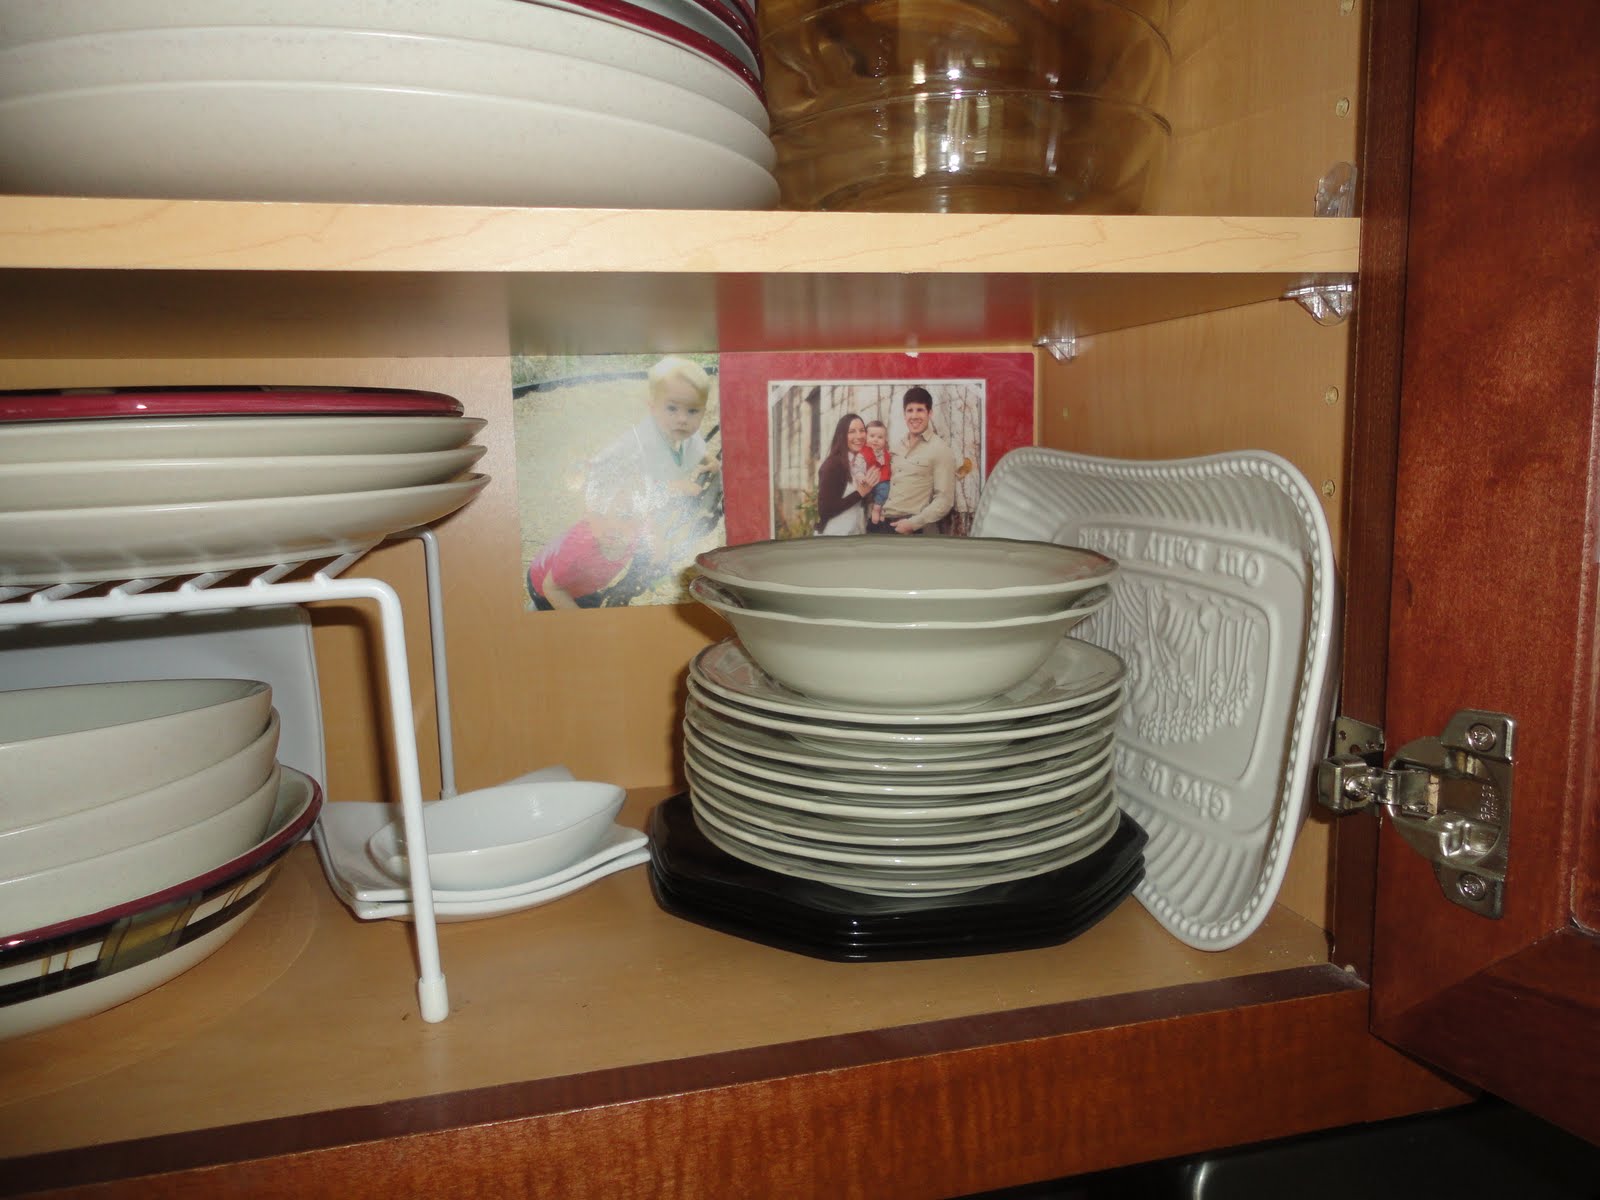
I know I should probably put these in an album... but why store them away and glance at them occasionally when I can be reminded of my amazing friends and family throughout the whole day?


I open up my cabinet door to be greeted with pictures from Christmas, baby announcements, graduations, engagements, or just random pictures I have that I love.


This is my nephew. He has a cabinet door all on his own..


I got this beautiful platter as a housewarming gift and it was just too pretty and needed to be displayed. Every so often I change the quote. This scripture has been up for quite awhile...
I just realized 3/14 is my late mother's birthday.. Wow.

Thursday, July 7, 2011

Birds on the Wall

Welcome to my craft corner.
I saw these bird decals on a website and they wanted some crazy amount for it! So, I decided to make ‘em myself!  I was so in love.


I went to Walmart and saw room décor circle decals on clearance for $1.00.. SCORE!!!
At that point I knew God loved me.
I found some bird silhoute clip art and enlarged them as much as I could on the copier settings. Each 8X10 paper had a different bird decal design on it.

I got the decals out, traced them and cut them out. I used only the largest circle decals
I even used the adhesive white backing as an extra decal. I stuck em on the wall with masking tape folded over on the back. I am so pleased with the project. It costs a minimal amount and the fact that my hands made ‘em makes my heart so happy. I see them every day in my living room and they remind me to:


“Look at the birds of the air; they do not sow or reap or store away in barns, and yet your heavenly Father feeds them. Are you not much more valuable than they? Matthew 6:26 (NIV)
So the birds.. okay.. for some reason Seve and I have this cosmic magnet on us to attract fledging birds. We’ve had more birds show up on our doorstep than we can count. They are always hurt or have fallen out of the nest or something. Steve and I have had to build a makeshift nest for them and pray that the momma bird comes for them, we have had to take one to a wildlife rehabilitation place, we have had to save one from a cat, we’ve had to catch one flying around the house.. it’s CRAZY. CRAZY I tell you.
We’ve tried and tried and tried to figure out this phenomenon. Most times I think it’s God telling me not worry about everything so much. I asked him to take care  of it in prayer and he will, according to his will and his timeline.

I realized the birds represent me. It’s me that’s forgotten how to fly. It’s my fear  which keeps me from my dreams. The fear that has paralyzed me from childhood. So I sit, and I pray and try to find the strength to be myself; all of me, not just a sliver of what I think is the best part. All of me: the good, the bad, the OCD..Here is where the work begins. The forgiveness work. The hardest work of all. The type of work that makes me run far… Oh but how I want his anointing in my life. How I need his blessing. It becomes clear, crystal clear that I must endure and allow the pain to leave me. Go through it all even though it’s hard and there’s suffering. In the end, I have to learn, I am “fearfully and wonderfully made; [HIS] works are wonderful..”
Psalm 139:13-15

I leave you with a song and singer close to my heart. Enjoy.